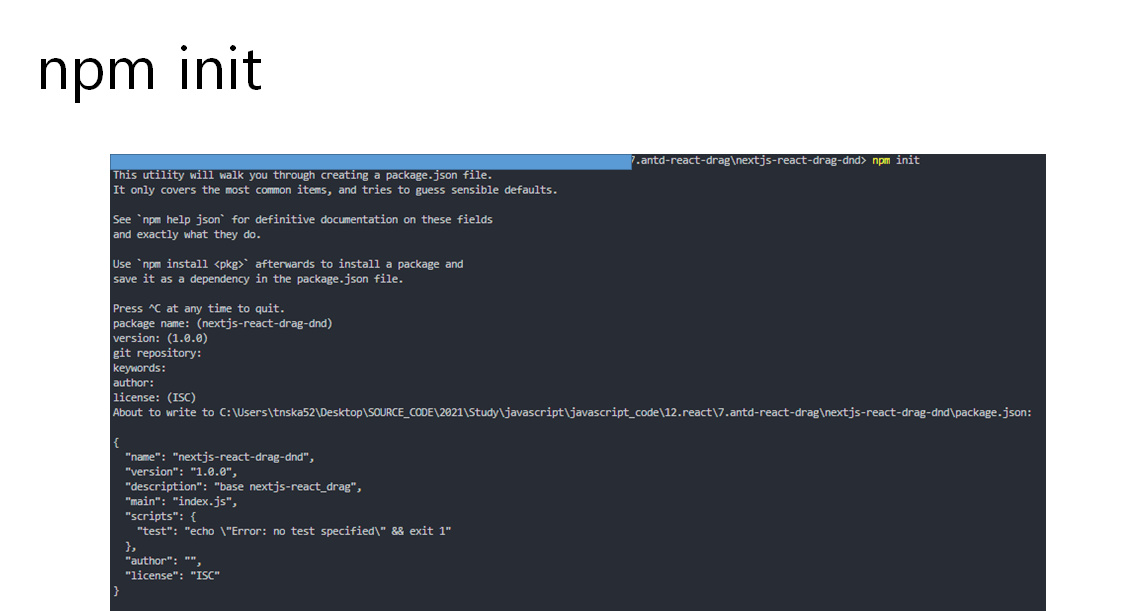


1. react-pdf 설치
- npm install react-pdf

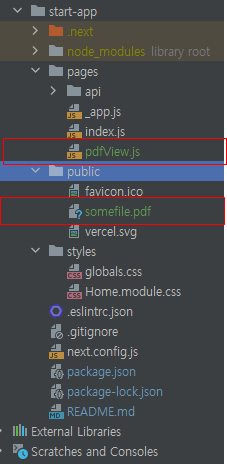
2. 폴더 구조
- Page 파일 : pdfView.js
- 테스트 파일 : somefile.pdf
3. pdfView.js
import React, {useState} from 'react';
import {Document, Page, pdfjs} from 'react-pdf';
pdfjs.GlobalWorkerOptions.workerSrc = `//cdnjs.cloudflare.com/ajax/libs/pdf.js/${pdfjs.version}/pdf.worker.js`;
const pdfView = () => {
const [numPages, setNumPages] = useState(null); // 총 페이지수
const [pageNumber, setPageNumber] = useState(1); // 현재 페이지
const [pageScale, setPageScale] = useState(1); // 페이지 스케일
function onDocumentLoadSuccess({numPages}) {
console.log(`numPages ${numPages}`);
setNumPages(numPages);
}
return (
<>
{/* pdf 크기가 1280 * 720이 넘는 경우, overflow 처리 */}
<div style={{width: '1280px', height: '720px', overflow: 'auto'}}>
<Document file="/somefile.pdf" onLoadSuccess={onDocumentLoadSuccess}>
<Page width={1280} height={720} scale={pageScale} pageNumber={pageNumber}/>
</Document>
</div>
<div>
<p>
Page {pageNumber} of {numPages}
</p>
<p>페이지 이동 버튼</p>
<button onClick={() => {
setPageNumber(numPages === pageNumber ? pageNumber : pageNumber + 1)
}}> +
</button>
<button onClick={() => {
setPageNumber(pageNumber === 1 ? pageNumber : pageNumber - 1)
}}> -
</button>
<p>페이지 스케일</p>
<button onClick={() => {
setPageScale(pageScale === 3 ? 3 : pageScale + 0.1)
}}> +
</button>
<button onClick={() => {
setPageScale((pageScale - 1) < 1 ? 1 : pageScale - 1)
}}> -
</button>
</div>
</>
);
};
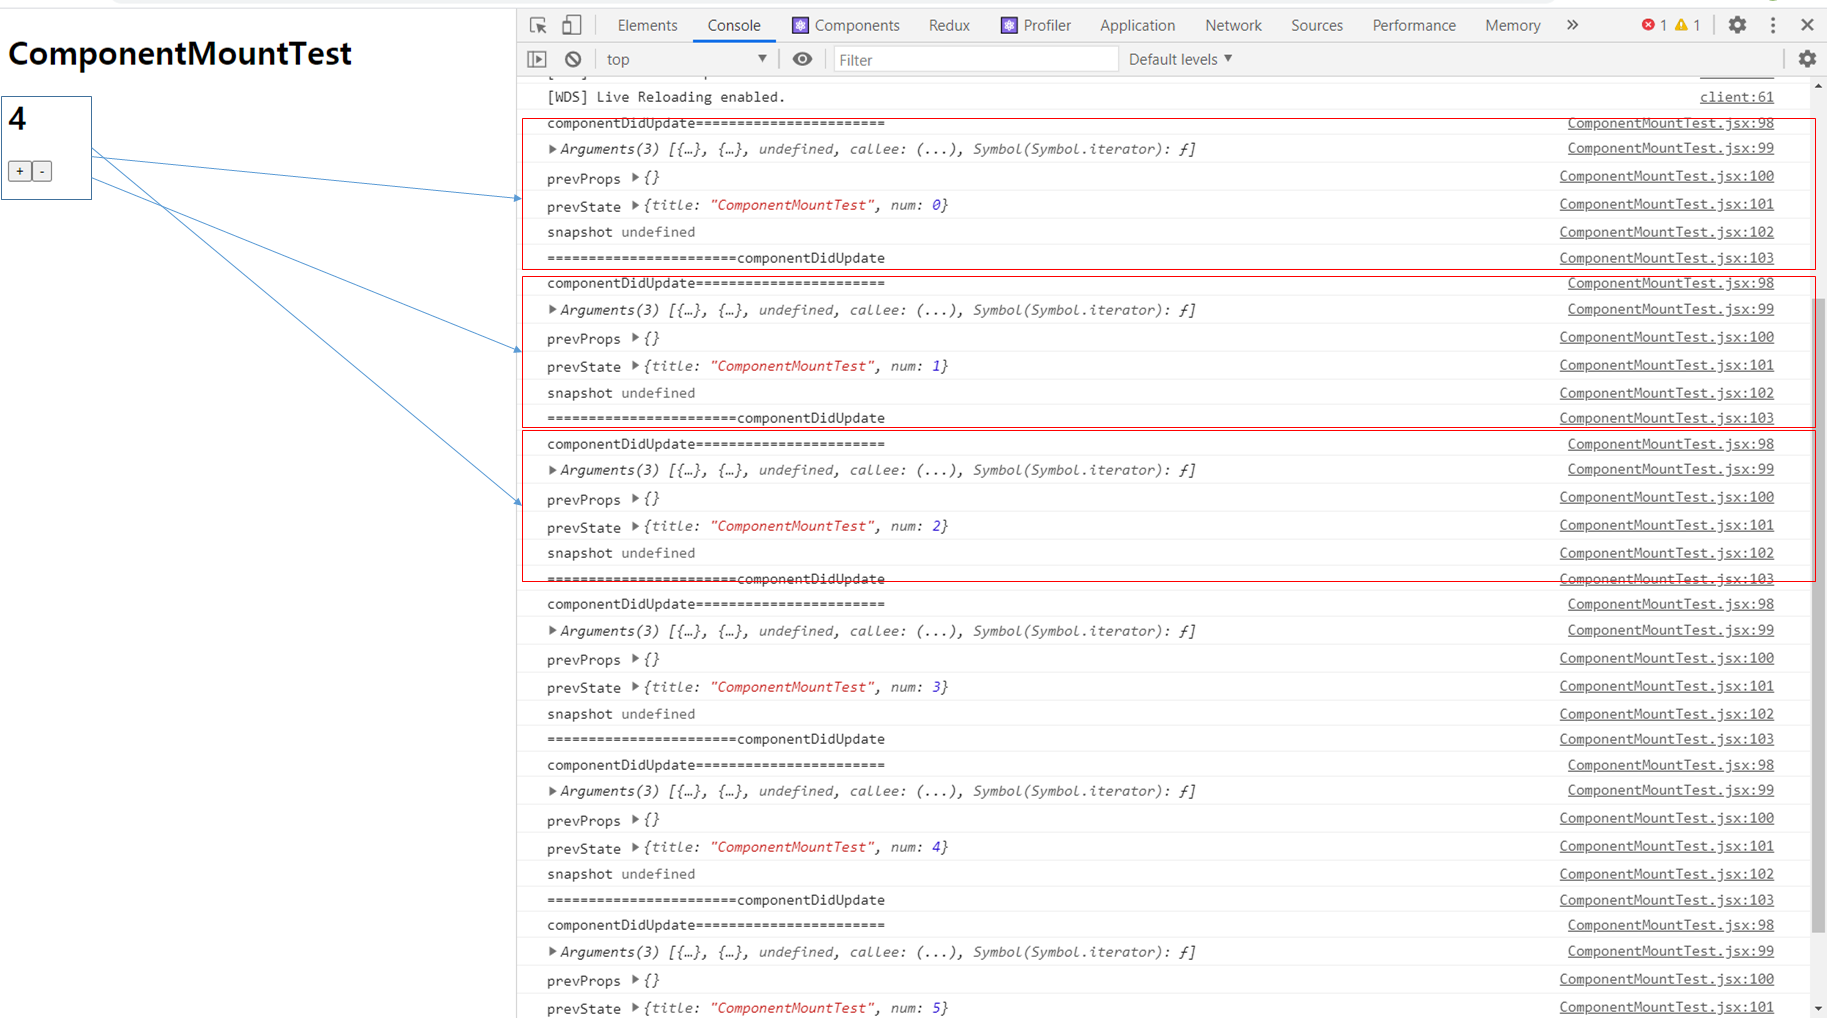
export default pdfView;4. 결과화면

'[react]' 카테고리의 다른 글
| [react - 기초] hooks 방식의 컴포넌트 생명 주기 (0) | 2020.11.09 |
|---|---|
| [react - 기초] class 방식의 컴포넌트 생명 주기 (0) | 2020.11.09 |
| [react - 기초] props 사용하기 - Class 방식과 Hooks 방식 (0) | 2020.11.06 |
| [react - 기초] button(버튼) 사용하기 - Class 방식과 Hooks 방식 (0) | 2020.11.06 |
| [react - 기초] state 사용하기 - Class 방식과 Hooks 방식 (0) | 2020.10.30 |

미나미나미